CyberFreezeDev
- Home
- Blog
- Industry guides
- Computer vision quality inspection: a starter setup for a line
Computer vision quality inspection: a starter setup for a line
Visual inspection with AI starts with lighting and a fixed camera, not with the model. Here is a starter setup for one station on a line, how to handle rare defects, and how to measure false rejects before you trust it.
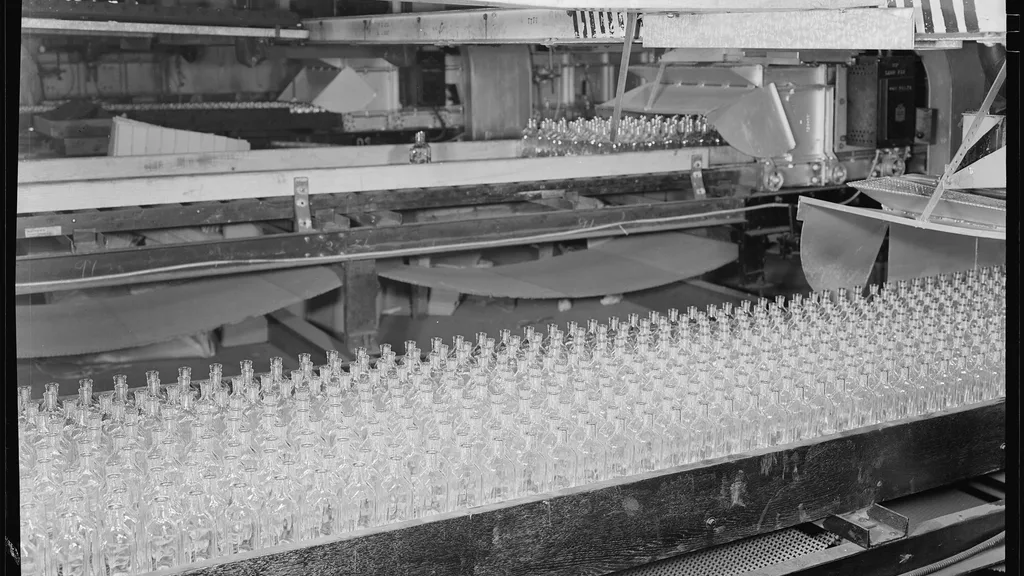
A starter setup for computer vision quality inspection is one station on the line with a fixed camera, controlled lighting and a trigger, a model trained on your own good and bad parts, and a reject signal the line acts on. Get the lighting and camera right first, use anomaly detection when defects are rare, and judge the system by false rejects and missed defects measured on your own parts.
This is for owners and plant managers of small lines, such as packaging, moulding, machining or food, who still inspect by eye.
Why do lighting and the camera come before the model?
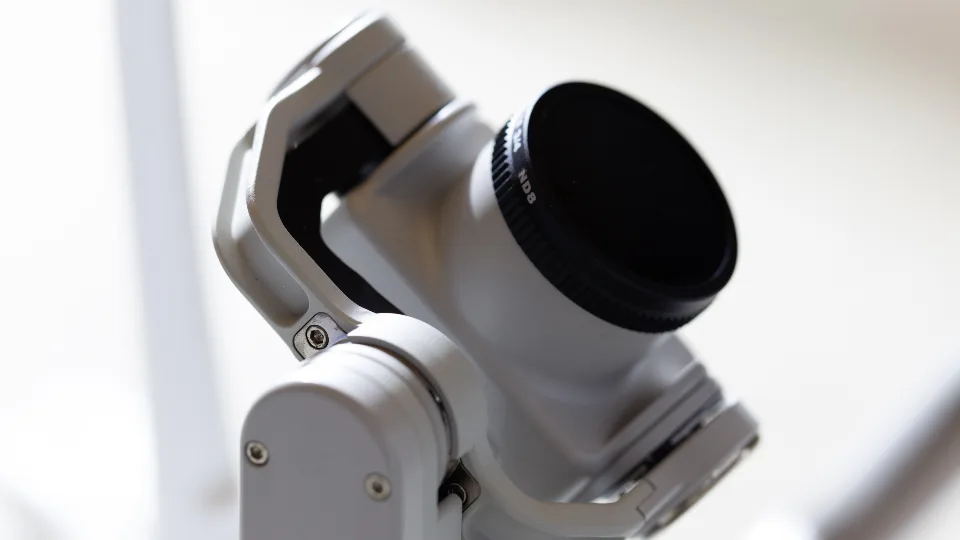
Computer vision can only find a defect the camera can see. Keyence's lighting guide puts it plainly: "Machine vision lighting controls contrast, clarity, and inspection repeatability." Glare and shadows hide defects and cause false rejects, and no model fixes an image that changes every time a door opens.
| Defect you care about | Lighting to try first |
|---|---|
| Missing cap, label or component | Bright field, straight into the camera |
| Scratches, dents, embossing | Dark field, low angle light |
| Holes, gaps, outline and size | Backlight behind the part |
| Shiny or curved surfaces, foil, cans | Dome or diffuse light |
| Flat reflective surfaces | Coaxial light along the camera axis |
Then the camera:
- Global shutter for moving parts. Raspberry Pi's Global Shutter Camera page notes that rolling shutter distortion "can seriously degrade inference performance", and that its camera can expose for as little as 30 μs with enough light.
- Fixed mount and a trigger. A sensor fires the camera when the part is in the same place every time.
- An enclosure that blocks daylight and overhead lights.
- Enough resolution that the smallest defect you must catch spans several pixels.
How many good and bad samples do you need?
More than you think of the good ones, and as many bad ones as you can find. Collect images across every product variant, every shift and every batch of raw material, because the model learns whatever varies in its training set.
Keep a set of images aside that the model never trains on, so you can test it honestly later. Have your quality inspector label the images, not the engineer. The model learns the inspector's judgement, so borderline parts need a decision: is a 1 mm scuff a reject or not? Write that rule down before labelling starts.
What if defects are rare?
On a good line, defects are a small share of output, and some kinds appear only a few times a year. A classifier trained on ten bad parts will not cope with the eleventh kind.
Anomaly detection turns the problem round: train on good parts only, and flag anything that looks different. The MVTec AD dataset, widely used in research, has defect free training images and over 5,000 images in 15 categories. PatchCore (Roth and others, CVPR 2022), trained using only nominal images, reported up to 99.6% image level AUROC on it. That is a public benchmark on lab images, not a promise for your line. Two cautions:
- MVTec AD is licensed for non commercial use only, so it is for learning, not for training your production model.
- An anomaly model flags different, not defective. A new supplier's material or a moved light will trigger it, so plan for review.
The open source Anomalib library (Apache-2.0) collects several of these methods and exports most to OpenVINO for Intel hardware. A common path is anomaly detection first, then a defect classifier once you have enough labelled rejects.
Should the model run at the edge or on a server?
| Edge device beside the camera | Server on the plant network | |
|---|---|---|
| Decision time | Fast enough to fire the rejector | Adds a network hop per frame |
| Network drop | Keeps working | Station stops deciding |
| Several stations | One device each | One machine serves many cameras |
| Larger models | Limited by the board | More room |
For a reject decision on a moving line, the edge usually wins. See our edge AI development page for the boards. A server suits slower checks, such as photos taken at a packing table.
How does a bad part get rejected, and how do you count false rejects?
The model's decision becomes a digital output. Your line's PLC, set up by your own integrator, tracks the part from the camera to an air jet, pusher or diverter and fires at the right moment. Save the image of every reject with its score. Decide with the integrator what happens if the camera or model fails: stop the line, or divert everything for manual checks.
Then measure two errors on parts from your own line:
- False rejects: good parts thrown out. They cost material and operator trust.
- Missed defects: bad parts passed. They cost complaints and returns.
Run the system in shadow mode for two weeks first: it decides, but the inspector still inspects, and you compare every disagreement. Set the threshold by which mistake costs you more. Our computer vision work reports precision and recall on held out images from your site, with examples of each kind of mistake. Our manufacturing page shows where inspection fits with the rest of the plant.
If you have one station where people inspect by eye and you want to know whether a camera can do it, send us photos of good and bad parts. Book a consultation.